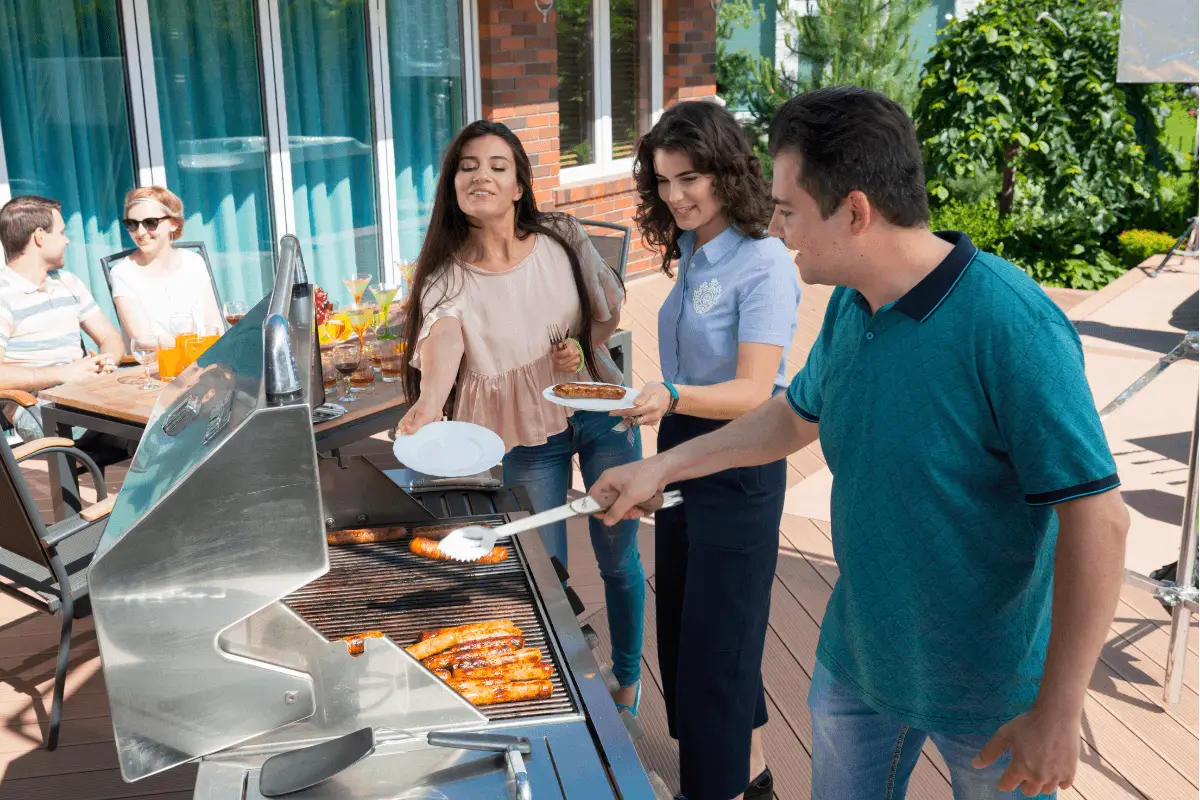
One of the best ways to entertain guests and host parties is by calling them over for drinks and a barbecue outdoors. Nowadays, an outdoor kitchen is all the rage. Not only is it easy to maintain, but it is also perfect for parties or a relaxing evening outdoors.
Unlike indoor kitchens, outdoor cooking stations allow you to prepare meals and mingle with guests simultaneously. Hence, you don’t have to miss out on any of the fun while hosting and working.
More often than not, homeowners focus mostly on indoor kitchen designs, and while the kitchen is the heart of the home, it does not necessarily have to be just indoors. Building your own DIY outdoor cooking station does not require a major investment or professional help.
You can do it yourself with just a few tools and planning. Keep reading this guide to find out more about how you can set up your own DIY outdoor cooking station.

Essential Components of an Outdoor Kitchen
Before you begin building an outdoor kitchen, it is important to note what you need.
1. Ample Storage space
Much like an indoor kitchen, your outdoor kitchen also needs to have a lot of space if you plan to cook and host parties there. You don’t want to be running indoors to get simple appliances, spices, or supplies if you are cooking outdoors.
For that reason, it is best if you make storage areas for essential supplies you will need while grilling or cooking. For example, you must include cabinets, drawers, and perhaps a mini-fridge as well.
Besides a space to keep appliances and prepare meals, you need to make sure that your outdoor area has ample space for seating your guests as well. Here are our top picks for patio furniture sets that would go perfectly well with an outdoor cooking station.
2. A High-Quality Grill
An essential component of your outdoor cooking station is your grill. It needs to be of good quality to withstand harsh weather conditions and be durable for long term use. You will also need to decide whether you wish to keep a freestanding grill or a built-in grill before building your outdoor kitchen.
Check out our guide on finding the best grill you can use for your outdoor kitchen.
3. Good Lighting
You will need to have good lighting for days when you want to cook dinners outdoors or spend evenings outside. Make sure that there is enough lighting in your backyard that covers both the cooking station and seating area. The lights should be ambient and functional.
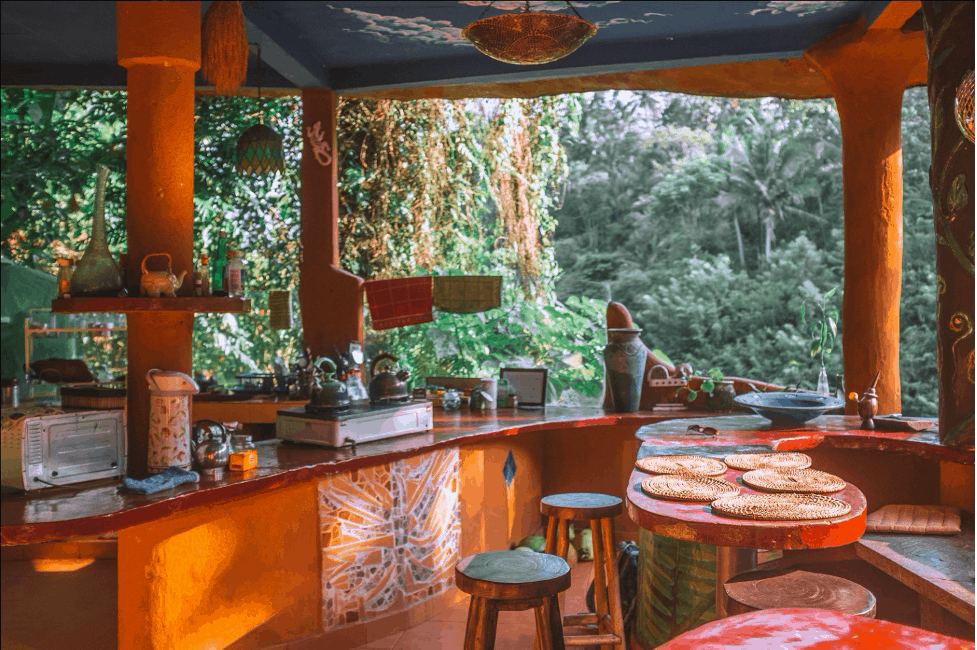
How to Build Your DIY Outdoor Cooking Station
Here is a short and simple guide to creating your own cooking station and kitchen outdoors. You might need to figure out where you want to place your station, for example, on your patio or in the backyard for starters. Moreover, you will need to plan and buy the materials before beginning this project.
Some of the things you will need include drills, nails, sheets of plywood, lath, mortar, trough, spatula, and stones. You will easily find these materials at your local hardware store.
Step 1: Build the Frame for the Kitchen Island
You have to use wooden logs and drill them together to create frames onto which you will place the countertops. Make sure you have made enough space in the frames for cabinets. Take a look at this easy and detailed video on building a wooden frame for a kitchen island.
Step 2: Attach a Lath to the Frame
After covering the frame with plywood and leaving out space for the cabinets, you will need to attach a layer of lath using drills and nails. Make sure that the plywood has been securely attached using staples before beginning this step.
Step 3: Spread and Score the Mortar
Mix some mortar with water and apply it to the bottom of the island. Then apply a thin layer of the mortar onto the lath. If the lath moves from any point, reattach it using nails. When the layer is firm, you must then score the surface using a notched trowel. Now, you must let the mortar set and sit for 24 hours before placing the stones.
Step 4: Place Stones
You will need cement and perfectly carved pieces of large stones that you will have to arrange inside your counter-frame. These will be placed on all the empty areas after making space for the cabinets. Trim large stones, and shape them. Then apply a layer of mortar to the stones and firmly attach them to the lath. Start setting them from the bottom layer and then working your way upwards with subsequent layers.
Step 5: Attach the Countertop
You can get a marble or concrete countertop, depending on your preference. Make measurements of the frame and get a top that is a few inches wider. You will need to apply a construction adhesive on the edge of the frames before setting the countertop and applying pressure for a few seconds.
Step 6: Attach Cabinets to the Frame
You will have to drill holes in the wooden frame and the inside of the cabinet. Insert the screws to fasten them properly. Click here for a proper guide on attaching cabinets to the frame.
Step 7: Install Other Fixtures
Now is the time to put the finishing touches on your DIY outdoor cooking station. Paint the counters, cabinets, or frame. You can then install any other fixtures you like, such as a sink or grill, if you plan to have a built-in grill. Of course, you will need to plan and make holes in your countertops according to the grill’s or sink’s size.
Final Words
Making your own DIY outdoor cooking station is pretty straightforward and easy. You can do it on your own, but if you have an extra pair of hands to help you, this task can be completed in just one weekend. Not only that, but you would be saving a ton of money by making your outdoor kitchen yourself instead of hiring others to do it.
However, make sure you do ample planning before beginning this process and stay safe by wearing gloves and goggles when working with the drills and lath.