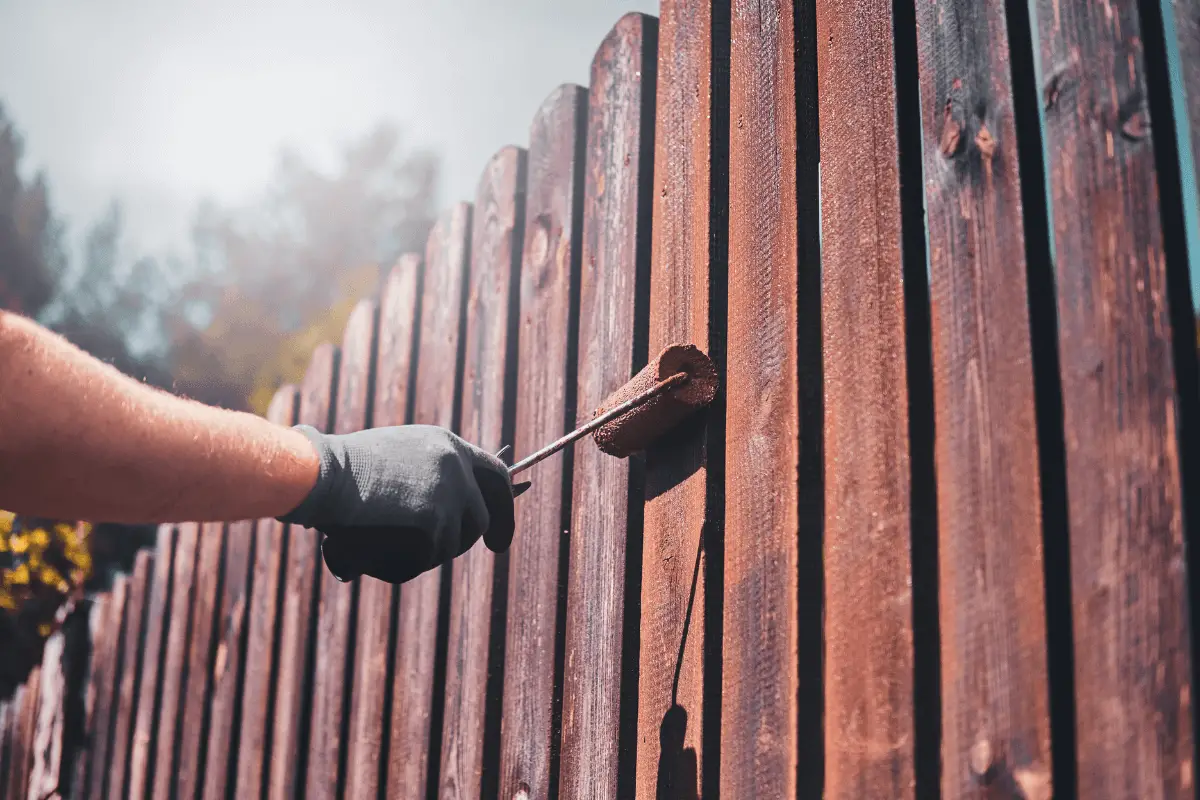
One of the most critical aspects of garden tool maintenance is to keep the tools sharp. It would help if you kept the tools sharp because they cut plants quickly and efficiently.
If the task of sharpening tools seems daunting or a little intimidating, this article is for you! Here, we will discuss the much-awaited ways to sharpen gardening tools. Let’s dive in!
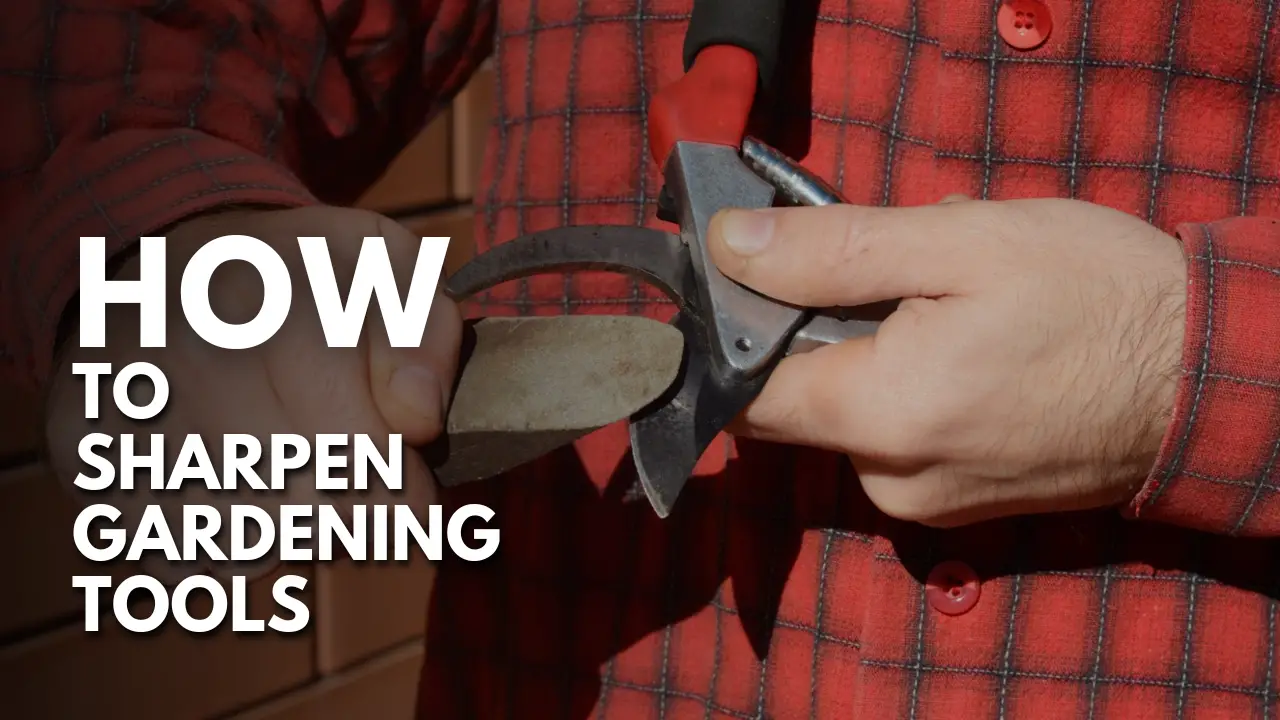
Steps for Sharpening Garden Tools
If you leave your gardening tools out or don’t clean them after use, they will be affected by the elements and start rusting. The blades will become dull, and they will be harder to use.
Any gardening activity, such as digging holes or pruning the plants, will be much easier with sharp tools. So, here are some ways to restore rusty gardening tools and sharpen them:
1. Remove the Rust From the Tools
The blades of your tools will grow dull if they get rusty or corroded, but that doesn’t mean they are damaged beyond repair. There are multiple ways of removing rust from tools that you can try, such as:
- Submerge the rusted tools in a solution of white vinegar and salt. The ratio of the two substances should be 16 to 1. Tools with less rust must be soaked overnight, whereas heavily rusted tools must soak for 3-4 days.
- Lightly rusted tools that only need a tune-up can be cleaned with baking soda and water. Spread a generous amount of paste on the blade and leave it for 30–45 minutes.
- If your tools have surface rust, scrub them with steel wool. You can clean any tool with steel wool to remove surface rust and use the treatment mentioned above.
Do not lubricate the tools before sharpening them because there is a risk of the file slipping and hurting you. We will oil the tools at the end, acting as a protective layer.
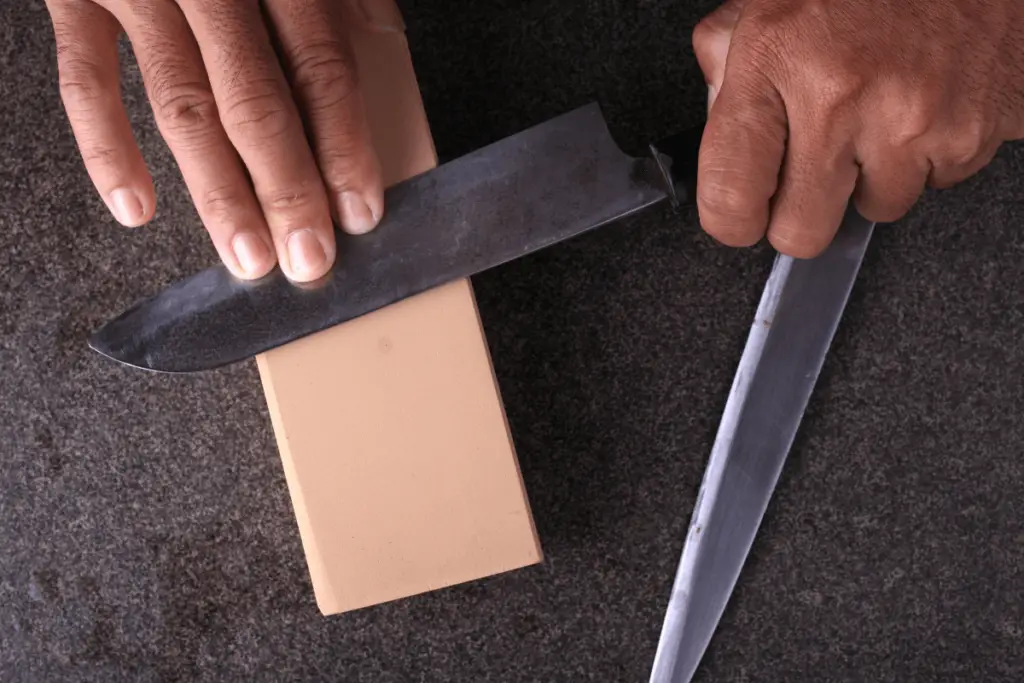
2. Identify the Cutting Edge on Tools That Need Sharpening
Sharpening garden tools will become very simple once you have identified the tool’s cutting edge. Do not run your hand along the blade, or you might cut yourself.
Instead, run your hand across the blade, and you will feel a slope at the edge of the blade. A knife has a bevel on both sides. Some edges have a bevel on only one side, while the other is flat.
The side with the slope is the side that needs sharpening!
3. Secure the Tools Before Sharpening
The tools need to be still and steady for the sharpening process. The idea behind this is to minimize the unwanted movement of the tool as much as possible. You can either secure them with a vise or with your hand.
A vise is a mechanical appliance used to hold down a workpiece. It has two parallel jaws, one of which is fixed, and the other is movable. Place the tool between the jaws, and thread the movable clamp in by the screw and lever.
You can secure the vise by permanently bolting it to your workstation or bench.
If you don’t own a vise, secure the tool with your hand or against your body.
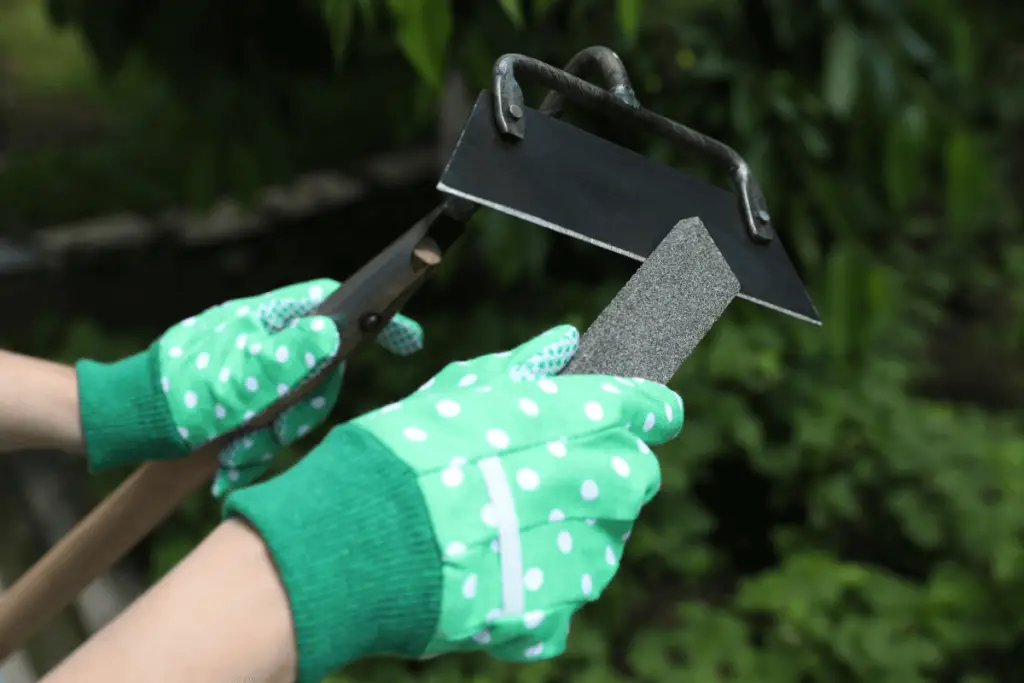
4. Adjust the Sharpening Angle and Start Filing
For beginners, an effortless way of knowing where to file is to color the bevel with a sharpie. The sharpie marks will disappear as you file, so you will get an idea of where you have sharpened already.
Take the file and lay it against the edge of the blade. Tilt the file at an angle that matches the angle of the slope. Another trick that might help is that the steeper the angle, the sharper the blade will be.
Start sharpening by pushing the file away from you while applying pressure downwards. Don’t move the file up and down the edge. Instead, move the file in one swift motion and try to follow the angle of the edge.
After the first round of filing, look at the blade, and you will see a shiny layer of new metal uncovered as you file. Slightly drop the file and go in for another round of sharpening.
5. Remove Burr
As you sharpen a tool, the metal shavings can get pushed over to the backside of the blade. You will distinctly feel a wire edge or ridges when you move your fingers on the back of the cutting edge, called a burr.
Remove the burr by lightly filing the back side once or twice.
6. File Maintenance
A sharpening file is also a metal tool that needs to be taken care of. If you use the file often, it will start to clog soon with the metal shavings you remove from other tools.
So, after every use, you should brush the metal shavings using a plastic bristle brush or a filing card.
To prevent the file from dulling over time, wrap it in a rag or a cloth before storing it.
Check out this article on five essential tools to help your garden thrive that every gardening enthusiast should have!
Frequently Asked Questions
This section is dedicated to answering some of the most commonly asked questions about sharpening garden/hand tools. Take a look!
1. Why Is it Important to Sharpen Your Tools?
A good quality tool should last you a lifetime, but its blade will dull over time. Gardening tools do not need to be razor-sharp, but sharpening them from time to time will save you a lot of time and effort in garden maintenance.
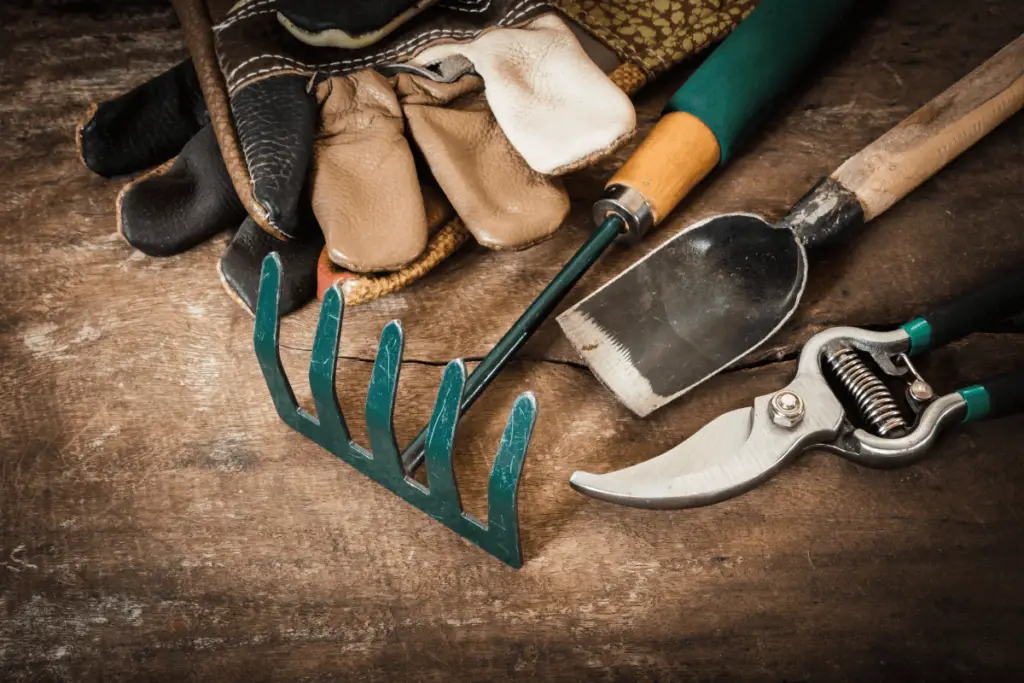
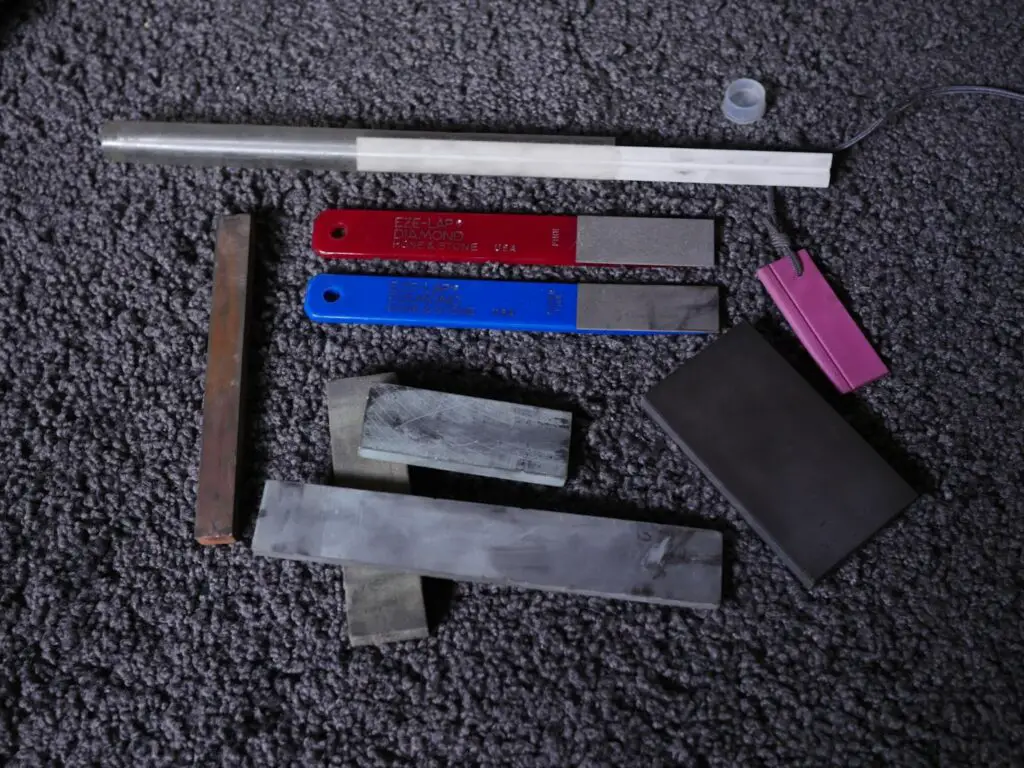
2. Which Materials Can Be Used to Sharpen Garden Tools?
You can use various materials to sharpen garden tools, such as high-grit sandpaper, a set of whetstones, a mill file, a honing stone, a diamond file, etc. You can choose to lubricate the sharpening stones lightly with oil or water.
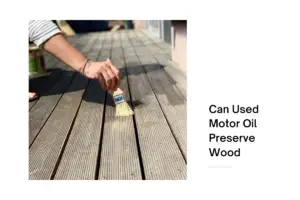
3. When Sharpening a Tool, What Type of Oil Must Be Used?
Mineral oils are the best option for lubricating tools because they are light and not too dense. Other alternatives include vegetable oils and industrial cleaners.
Final Word
After filing the blade, apply oil to protect it from water and rust. Lubricate the moving parts, like the springs, gears, pulleys, etc., to keep them working smoothly.
Be patient when sharpening big garden tools like a shovel because it will take more time. Store your tools in a dry place to elongate their life.