If your plant-baby is outgrowing its pot, it may be time to move it into a new, bigger one. If you haven’t done this before – don’t panic. It’s a lot easier than you might think.
And, we are here to help! Here’s a step-by-step guide on how to rehome your little green babies!
Your succulents will let you know when they want to be repotted. Look out for the following signs:
- You can see roots poking out from the bottom of the current pot. This means the roots have grown too long and do not have the room to reach their full potential, preventing your succulent from growing.
- The leaves are yellow, dry or your plant is generally looking sick or unhealthy.
- The succulent leans or topples over. This means the plant portion is too heavy for the pot it is in and needs to be upgraded to a new one.
- Your succulent has produced offsets or babies. These are known as pups and must be repotted separate from the mother plant to enable its growth.
You will also need to repot your succulent if you have newly purchased it, as they tend to come in a too-small container, hindering the growth. It’s recommended to transfer your new succulent within 2 weeks of your purchase.
Be warned- you should never repot your succulents during a dormant season. Usually, that will be either Summer or Winter, so make sure you check for your specific plant baby.
The best time to repot is before the growing season – so early spring or winter. This leaves them time to settle in their new home before continuing to grow. On average, you’re going to want to repot your succulents around every 2 years.
Before we go through the repotting process, here are some important things to prepare beforehand. Water your succulent one to two days before you plan to move it, to keep it moisturized.
To prepare your plant’s new home, you will need a pot that’s at least 10% bigger and wider than the succulent itself, and it will need to have holes in the bottom to allow drainage. If there is no way for the excess water to be drained, your succulent may develop root rot which can cause it to die.
After this, you’ll want to create new soil for your plant. This soil should be a mix of the old soil from its original pot, and new soil. It should be porous and well-drained.
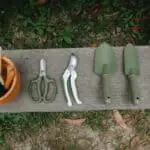
What you’ll need:
- Soil Mix
- New pot
- Trowel or small shovel
- Your succulent of course!
Steps
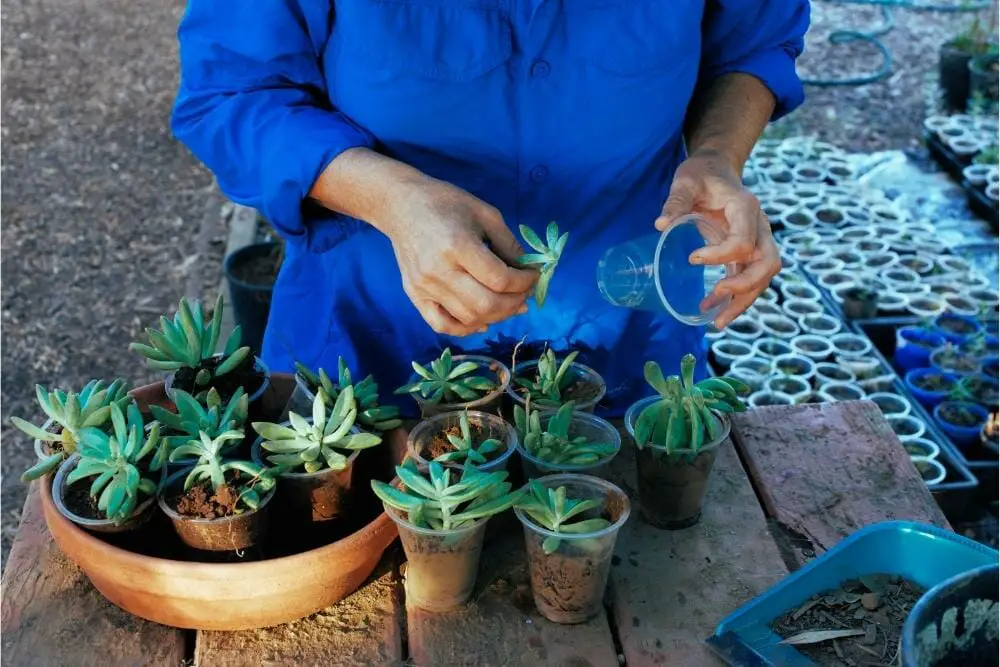
Step 1) The first thing you’re going to need to do is to remove your succulent from its current pot. To do this, turn it sideways and gently grab the bottom of the plant at the base of the stem. Then softly shake and tap the bottom of the container. You can use your hands to loosen the soil to help it come out.
If you are still struggling, or your succulent is being stubborn, you can poke through the drainage holes at the bottom to break up and loosen the soil even further, allowing the plant to move. If all else fails, you could sacrifice the plant pot by gently hammering it – this way, the root system won’t be damaged either.
Step 2) Secondly, you need to clean and dry your succulent’s root system. This is a very delicate process, so you’re going to want to be very gentle so as to not disrupt it too much.
Remove as much soil from the roots that you can by brushing them gently. If you use water to wash the soil off, make sure to dry the roots after. If the roots are too long, you should trim them to fit comfortably into the new pot.
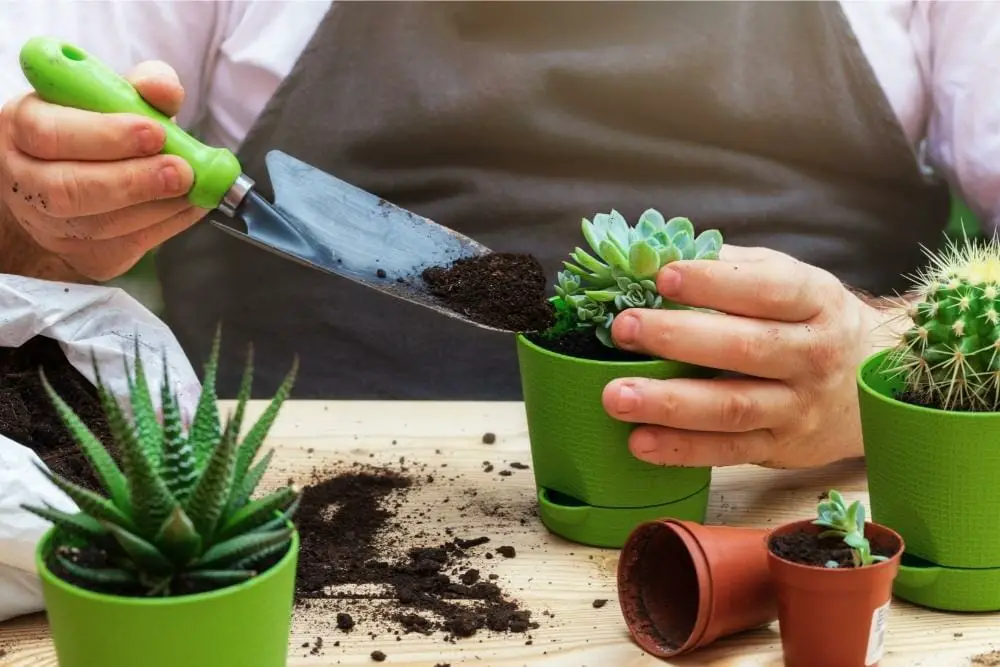
Step 3) The next step is to put the succulent in its new home. Take your new pot and fill around two-thirds of it with the new soil mix. Dig a small hole in the center, and place your plant inside.
Cover the roots completely with more of the new soil mix. To prevent your succulent from rotting, ensure that all of its leaves are above the soil. This will keep it safe and healthy and will allow it to continue to grow to its fullest potential.
If you are repotting a cactus, you can use the same process that has been described above. The only difference is that you’ll want to use kitchen tongs or garden gloves to handle the plant. Otherwise, you’re going to get pricked!
Once you have repotted your babies in their new home, water them once every 1-3 weeks. This will depend on the climate in which your succulent is kept, considering factors such as how much sunlight it gets, etc.
A good way to tell if they need watering is to feel the bottom of their soil. If it feels damp or leaves residue on your fingers, you do not yet need to water it. If it feels dry, you do. It’s as easy as that!
There are certain conditions where you should not repot your succulents – or at least try to avoid it as much as you can. For example, if your succulent has begun to flower, moving it into another pot may cause the flower to fall off and this is a situation in which you should want to avoid.
You also should not over-water your plants, because this is another common cause of root rot- which is detrimental to succulent health and one of the easiest but preventable ways for them to die. Also, when it comes to watering your newly potted plant, you should wait for at least a week before watering.
So that’s it! It’s really quite simple once you know how to do it. Although it is a delicate process, it’s easy enough to do yourself at home. If your plant baby is asking for a new home, now you know how to give it one!