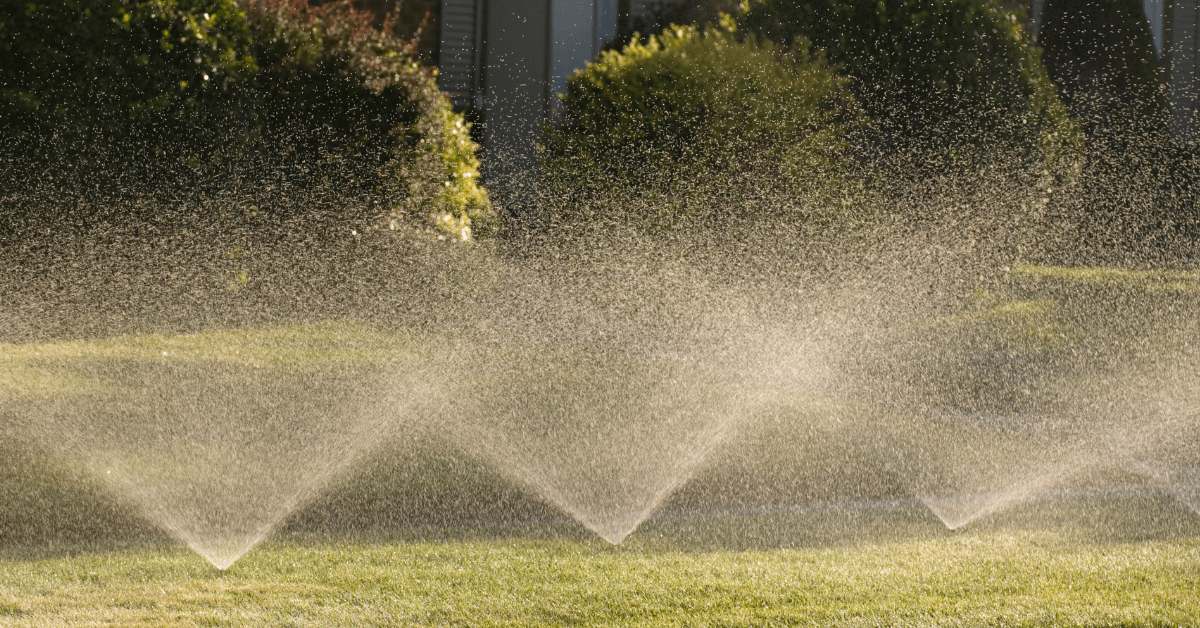
Underground sprinkler systems play an essential role in how well you get to water your lawn. They enable their users to wet grasses at the optimal time, using the right amount of water with less effort. The only problem, however, with the system is that they require ongoing maintenance, as you need to clean them from time to time.
Depending on how dirty an underground sprinkler is, there are a couple of ways to clean it. For the minimal build-up of dirt and debris, all you need is to wipe the system’s head with a cloth or brush. After that, rinse the sprinkler thoroughly with clean, cold water. The process is different, however, for extensive build-up.
Do sprinkler heads need to be cleaned? How exactly do you clean a dirty sprinkler system? What is the best way to clean the sprinkler nozzle? These and more are the frequently asked questions that you’ll find answers to in the rest of this article.
Do sprinkler heads need to be cleaned?
Sprinkler heads certainly need to be cleaned from time to time for better results. Of course, there are a couple of reasons why you need to keep the system’s head clean regularly. However, before going into that, let me quickly talk about the working principle of the sprinkler system and how it gets dirty.
Here’s how the sprinkler system works
Having a reliable and good working sprinkler system provides you with better control regarding how to water your lawns. This system is designed with a few components, which are pretty easy to understand.
One of the main components of the system is the shut-off valves, which primarily help to turn off the water supply, especially when issues surface. The system also has a backflow preventer, a device that is designed specifically to remove contaminants from your water. This device performs its work by keeping the water from the sprinkler away from reaching the municipal water supply.
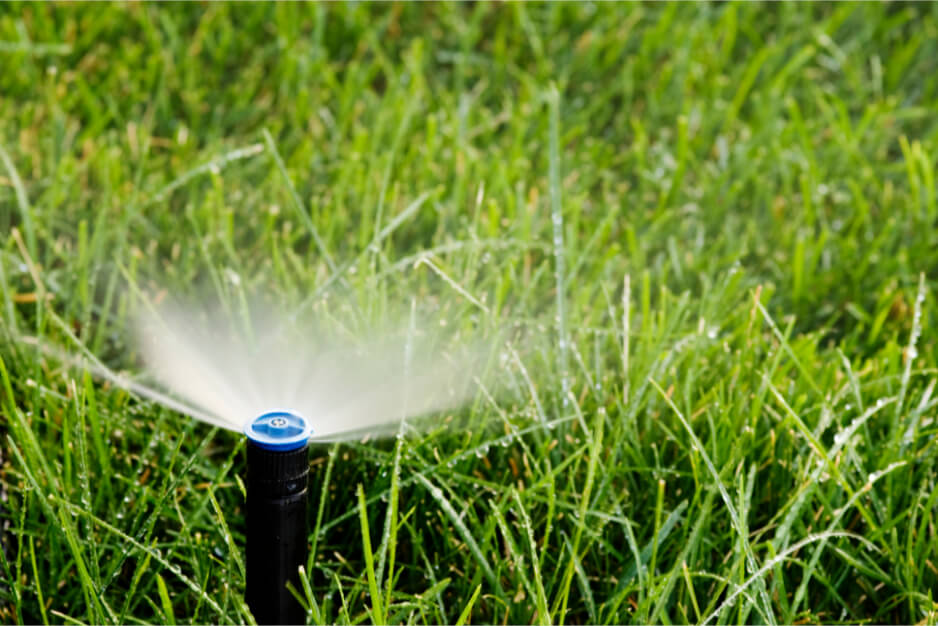
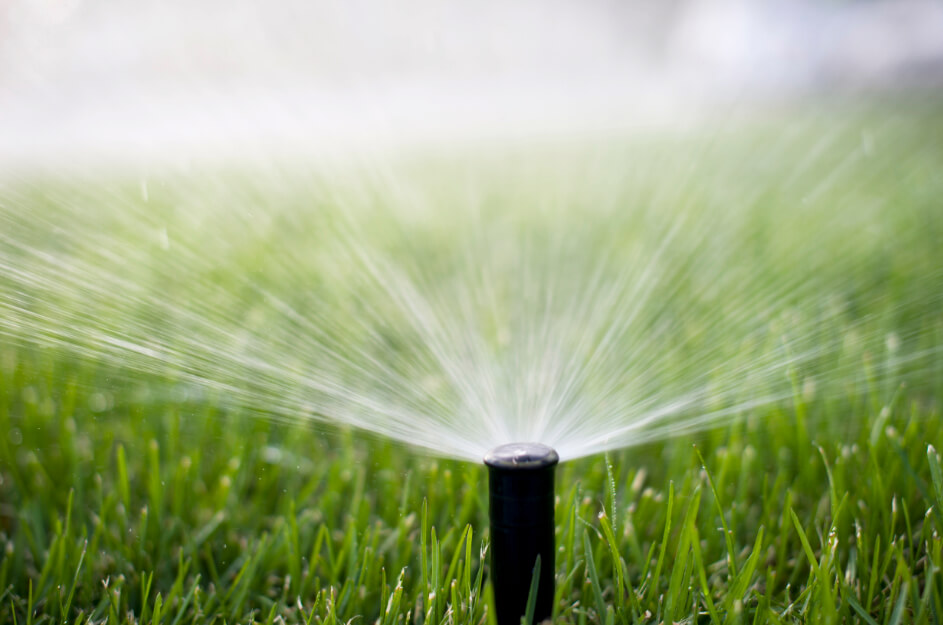
That’s not all; the sprinkler system also features heads – this is the tiny device that you see right above the ground level. It helps to spray water evenly on your lawn. This device also has another component; nozzle, which helps to apply water in a certain pattern and distance, at specified pressures. Lastly, there is a controller, which allows you to program your sprinkler to work exactly how you want it. It’s usually connected to the shut-off valves.
Speaking of the construction of the sprinkler systems; some pipes are usually buried down the ground (about 12 inches). These pipes are connected to the sprinkler heads, which are positioned in an appropriate area on your lawn. The heads work on a pressure system; as soon as water passes through the pipes, they are pressured up above the ground through them and sprayed appropriately across your lawn.
Maintenance of your sprinkler system
One of the common issues of the sprinkler system is clogging or blockages. The best way to understand that your system is experiencing this issue is if water fails to flow easily through the heads.
Well, a couple of factors could make your sprinkler system clog. One of them is the accumulation of dirt over time. The more you make use of the sprinkler, the more dirt and mud accumulate and clog or block the system from pumping water properly to the lawn.
Another factor that causes clogging is if there is a buildup of debris in the sprinkler’s heads or the nozzle. To avoid clogging your sprinkler, you need to clean the system regularly. This explains why the sprinkler heads need to be cleaned every time.
How do you clean a dirty sprinkler system
Now that you know that it’s important to clean your sprinkler system frequently, it’s time to get to business to prevent clogging it. But here’s a quick question; what is the best way to clean a dirty sprinkler system?
Depending on how dirty your sprinkler is, there are a couple of methods that you can employ to get the system cleaned. Let’s have a quick look at the below:
Eliminating debris from the system
As previously mentioned, the buildup of debris in your sprinkler’s heads could end up clogging the entry system, making it pretty hard to evenly distribute water across your lawn. If this happens, some parts of your lawn will be overloaded with water while other parts will be denied water. This could also result in green patches and brown grass.
To avoid these issues, it’s important to eliminate debris from your sprinkler system as soon as possible.
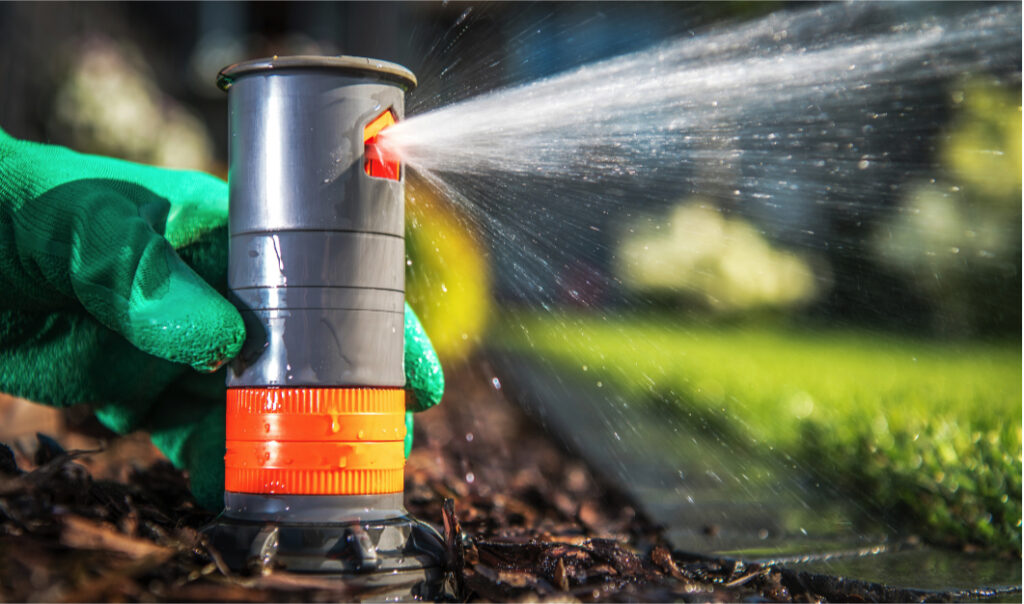
- For you to do that, the first thing you need is to disconnect the system from the water hose. After that, get a dry cloth and wipe the sprinkler heads clean, removing every trace of mud, dirt, and silt on the system’s head.
- After that, you need to carefully inspect the head unit and see to it that there are no obstructions in the holes, where water sprays out to the lawn. Check for traces of debris, such as rock particles, and remove them immediately with a paperclip.
- As soon as you finish removing the debris, all you need is to rinse the sprinkler head with water by reconnecting the system to the water hose.
Eliminating rust and mineral buildup
The method required to remove debris and dirt from your sprinkler head is way different from the one you need to use for eliminating rust buildups.
For this method, you need to disconnect the sprinkler head completely. After that, place the head inside a big plastic bag. After that, you need to get a reliable rust removal and apply it to your sprinkler head.
The CLR Calcium, Lime, Rust Remover is one of the best products that you can consider for this project. Go to a properly ventilated area and mix the CLR product and warm water (use equal amounts of both substances).
Before going ahead to apply the mixture, make sure you inspect your sprinkler heads and check to understand how rusty the system is. This way, you can be sure of where to focus when applying the CLR/warm water mixture.
Now, remove the sprinkler heads from the plastic bag and submerge them inside the CLR/warm water solution. Without wasting time, remove the heads from the solution immediately and rinse them with cold water. After that, reconnect the sprinkler heads and you’re good to start using the system again.
Preventing further clogging
The last method isn’t directly about cleaning dirty and rusty sprinkler systems. Instead, it focuses on how to protect the system against future clogging and blockages.
For this method, you need a reliable lubricant, such as the WD-40. With this product, all you need is to grease the moving parts of the sprinkler system.
You can also prevent further clogging by removing the grasses near the sprinkler head. In case you don’t know, weeds can also clog the system. That’s especially true if the sprinkler head is embedded inside the ground.
Another way to prevent future clogging is to always clean the sprinkler system regularly. Depending on how frequently you make use of your sprinkler, I’ll advise that you try cleaning it about 2 to 3 times yearly. This way, you’ll be able to remove any accumulation of dirt or buildup of the debris before it clogs your system.
How to clean your sprinkler nozzle?
As you already know, the sprinkler nozzle is designed specifically to help apply water at a certain distance and specified water pressures. Like the sprinkler head, the sprinkler nozzle can also get clogged if care is not taken. This explains why you need to clean the sprinkler nozzle regularly.
However, unlike the methods used to clean the sprinkler heads, cleaning the nozzle is a bit tricky. But the following steps should guide you on how to do it without encountering any problems.
Underground Sprinkler Cleaning Steps:
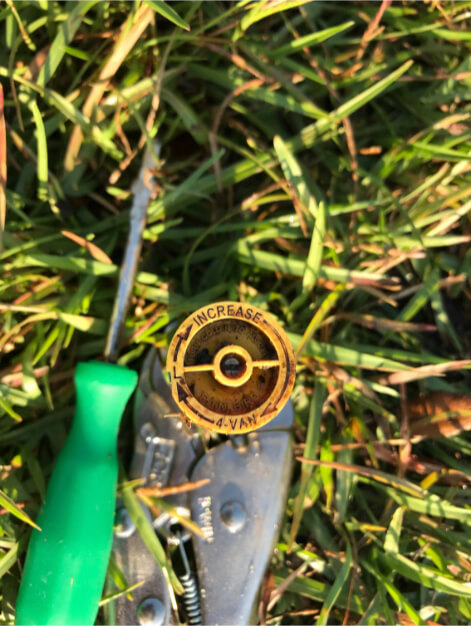
- To commence the cleaning project, the very first thing you need is to remove the nozzle. This will require you to unscrew and disconnect the sprinkler head using a screwdriver or hex key. As soon as you remove the head, you’ll be able to see the nozzle.
- Grab the nozzle by its body and detach it from its cap. After that, gently remove the nozzle by pulling it upward.
- Your nozzle has a filter screen part, ensure to remove it. For easy removal, you can consider using a paper clip.
- After removing the filter screen, the next thing you need is to prepare the cleaning solution. For this process, all you need is detergent or liquid soap and warm water. Thoroughly mix them, ensuring that the soap is dispersed evenly.
- Now, let’s start by cleaning the screen of the nozzle. To do that, drop the screen inside a bucket and pour the soap/warm water solution inside it. As you do that, the warm water in the solution will soften the debris and dirt around the filter screen.
- Soak the screen inside the solution for a couple of minutes and then remove it. Wash away the dirt and debris around it with a brush and rinse properly.
- The process of washing the nozzle is slightly different from the one above. Instead of using soap/warm water solution, all you need is steam. Open your hot water supply unit and let the water flow through the nozzle to remove any dirt and debris inside.
That’s all about cleaning the sprinkler nozzle and its filter screen. Next, you need to reconnect the parts again. Start by attaching the filter screen to the nozzle. After that, connect the nozzle and the head and use a screwdriver or hex key to tighten the head.
What is the best way to clean weeds out of ground sprinklers?
One reason why it’s important to clean your sprinkler heads is to prevent clogging and to enable water to flow evenly. Even if you clean the sprinkler heads regularly, you could still experience clogging if you don’t take care of the grass around the system.
If you’re looking to clean weeds out of your ground sprinkler but don’t know how to go about it, the steps below will guide you.
- First, switch off your sprinkler system. After that, you need to wait for some time to enable the grass to dry properly.
- If you use more than one sprinkler head, ensure to identify and mark (with a long stick) where each one of them is located on your lawn.
- Next, you need to remove a 1-inch ring of sod around each of the sprinkler heads. To do that, you need to use a sprinkler head trimmer, which has a higher diameter than that of the heads.
- After that, proceed and use a trimmer or trowel to dig a 1-inch wide and 2-to-3-inch deep trench around the sprinkler heads.
- So, insert the spade of the trowel vertically into the ground, making it cut through the sod.
- Next, remove the trowel and repeat the process around the perimeter of each of the sprinkler heads. Also, repeat the process by angling it across the base of the ring.
- While still using the trowel, detach the ring of the sod from the ground. After that, press down the loose soil in the trench and discard the ring.
- Get a garden shear and cut the blades of the grass around the perimeter of your trench. However, you need to avoid cutting the blades too short.
- That’s all about cleaning the grass from your ground sprinkler. For better results, ensure to always dig the trenches every 4 months, and follow the steps above to remove weeds in the sprinkler heads.