
What Is a Tetherball?
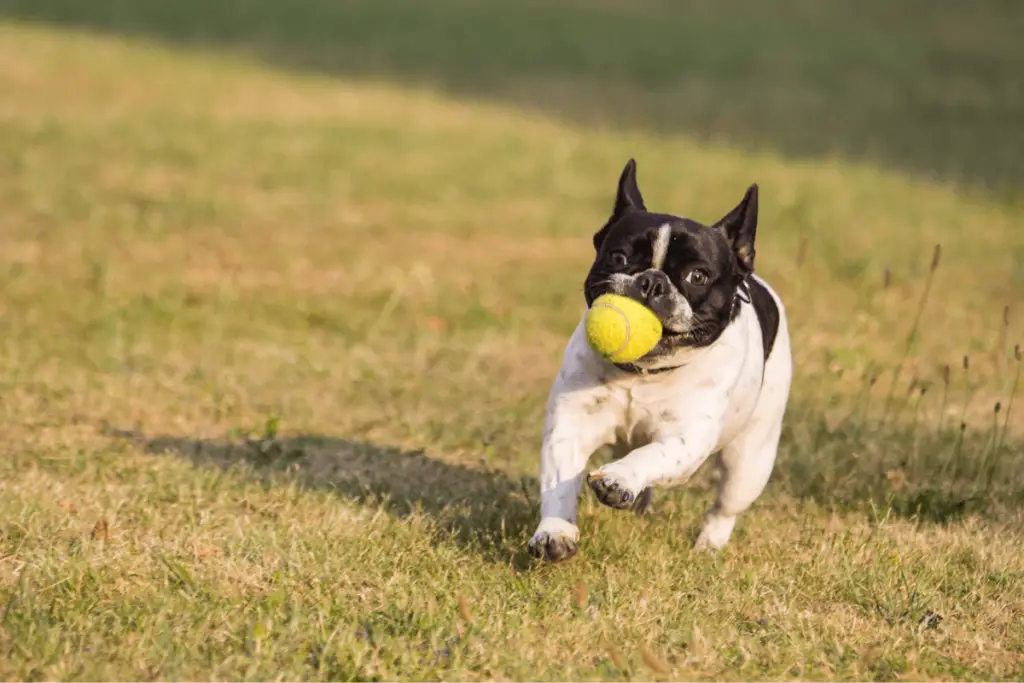
A tetherball is known as a dog exercise toy often attached to a pole and used to get a dog’s attention and help them exercise. Upon reaching the pull, the dog pounces. Due to its flexibility, the pole carrying the toy can withstand the strong pull of the canine’s mouth.
The more the pet interacts with the toy, the better it helps them get rid of their pent-up energy. They get enough activity by swinging the standalone toy in one direction to the other. This is the most effective way to alleviate separation anxiety.
DIY Tetherball for Dogs
Make Your Tetherball Set at Home Using These Steps:
Supplies:
- A tire that is smaller than a car tire, but it shouldn’t be an SUV tire.
- A galvanized steel line pole measuring 1 5/8 x 8 feet in length
- Rebar of a one-foot length
- Around 60-pound bags of concrete to make 180 pounds of cement.
- Eye bolt snap (round), 5/8 x 3 inches
- 5/8 inches’ eye bolt
- 1/4-inch shank
- Two washers, a lock nut, and a nut
- 18 gauge galvanized wire
- A shovel, a container, and water to mix cement
- Ladder
Using an old tire for the tetherball set’s foundation is environmentally friendly. Look for one that isn’t too huge or from an SUV. It will be impossible to move once it is filled with cement.
As a bonus, it’s good to be able to wheel it inside a barn or garage to shelter it from the weather during the winter. If you don’t intend to relocate it, you may use a larger tire to keep it in place. If this is the case, you’ll need to add extra cement to the mix.
If you don’t have an old tire on hand, I recommend checking out a junkyard or a dump for a replacement. Alternatively, you might ask if anyone has a spare tire they’d be willing to get rid of.
Directions:
Make sure you have everything you need for the job before you begin. You may make the toy where there’s room for your supplies, such as on your back patio. Lay down a large and strong rubbish bag or plastic sheeting.
This will shield your surface from the cement and make cleanup a breeze after it’s done and dry. Make sure you have all your tools and equipment ready to go and a ladder handy. For cement, you’ll need a second pair of hands for this endeavor.
If you’re looking for a method to get all of your children engaged, this is a terrific option. Using a jigsaw, cut cross-shaped holes into the end of your line pole. Regardless of which one you choose, the ultimate result is the same.
When determining the spacing between your holes, measure from the inside of the tire. You don’t want it to protrude from the top or bottom of your tire because it will be buried in cement. Use the galvanized wire to fasten the rebar once it has been slid into place.
To secure the eye bolt, use a washer and a 1/4-inch nut on the other end of the pole. Place your tire on a large garbage bag or plastic sheeting and let it air dry. You can use a shovel and a cheap container purchased from any store to mix the cement, following the manufacturer’s guidelines.
Spread and smooth out the mixed cement as you shovel it into the tire’s center. Next to the tire, set up a tall ladder or anything else that you can use to steady the pole to keep it in place. Once the pole is in place, insert the rebar end first into the cement, ensuring that the rebar is entirely encased in the concrete.
Once dried, you’ll be able to scrape the cement straight off the tire. To keep it steady while drying, use the galvanized wire to secure it to the side of the ladder. We think you’ll agree that the task will become much easy if you have a group of people to help you.
You may involve your kids since they can be a great help. The final steps truly do need the presence of an extra pair of hands. After 3-4 hours, you need to put your dog’s names on the concrete surface. Don’t do this immediately; the cement must be semi-firm to hold the names.
To attach a rope to the swivel end of a snap bolt, attach it to the eye bolt at the top of the pole and secure it with a rope splice. Snap bolts aren’t required, but they simplify removing the ball from the tetherball pole.
Now it’s time to have some FUN! Over the summer, you can leave it outside, and in the fall, you can bring it inside to keep it warm during the winter. It’s also simple to remove the ball’s clip and store it that way, making it ideal for year-round use.
Alternatively, you may spray paint the pole and tire to make your tetherball set unique. Let the youngsters have fun with the paint and make their mark on the tire with their handprints or designs.
Wrapping Up
You can build your own tetherball set in an afternoon and be ready to play the next day if you have the right area and basic tool abilities. Our tetherball guide has covered everything you need to know to create a tetherball for your dog.
You can either make your tetherball pole with the advice in this article or buy one pre-made. You’re going to have so much fun with your new tetherball game! Don’t forget to tell your friends, family, and neighbors about your new tetherball game since everyone can enjoy this game!